
Lighting Your Artwork – Some tips to consider
Lighting Your Artwork – Some tips to consider
You just bought this really cool piece of artwork and now you are wondering how best to light it.
In fact, properly lighting your artwork can make all the difference in the world when it comes to showcasing it. You don’t want that stunning painting cast in shadows or blasted with sunlight.
Here are a few tips on lighting your artwork so you can admire it for years to come. I hope you find a few jewels in these tips no matter your budget or display environment.
So, let’s start with an easy one.
Direct Sunlight or Natural Light
- Avoid displaying artwork in direct sunlight. Ultraviolet light and infrared radiation can cause fading and discoloration.
- Worth repeating – Don’t allow light to directly face artwork. You want to protect your artwork against heat damage.
- Think before you position your fine art between large windows, as the eye will struggle to see the art during the day.
- If possible, aim for a wall that is north-facing, so it doesn’t get the brunt of the afternoon’s heat.
Light affects various types of art in different ways, so consider these guidelines:
- Oil paintings can be difficult to light because of the specular highlights (reflections) that are created when intense light is directed at the painting. A broad-based light source is best for lighting an oil painting.
Oil paintings are typically textured, especially those created with a heavy impasto technique. Using direct lighting can cause different shadows or highlights to appear. If this effect isn’t desired, lighting oil paintings with a broad light ensures all details are evenly illuminated.
- Acrylic paintings are not glossy and consequently don’t have the glare problems associated with oils or artwork framed under glass. Therefore, you can generally use any type of light source.
- Reflection and glare are often problems with artwork that has been placed behind glass such as watercolors, serigraphs, lithographs, and other graphic media. Nonreflective glass and proper placement of lighting can help solve these problems. Placing lights at a 30-degree angle to the piece reduces the glare on artwork under glass.
Types of Lights to Consider for Your Artwork
– Consider the following options when lighting your artwork
- LED Lights: LED lights are best for showcasing valuable artwork. They boast a long lifespan and give off little ultraviolet radiation and heat. Therefore, there is no damaging ultraviolet rays or infrared light. LEDs cost more upfront but are energy efficient and have a long lifecycle.
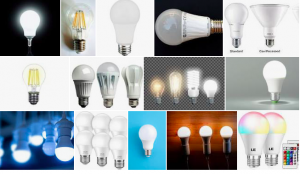
Additionally, they are a good option if there is little space available between the art and the light source. They are available in warm and cool color temperatures. Many world-renown institutions are making the move toward LED lighting Look for high-CRI (Color Rendering Index) lamp options.
- Incandescent Lights: Incandescent lights cast a comforting warm glow that brings out the yellows and reds in art while flattering the blues and greens. However, traditional incandescent lighting should be avoided since it displays too much warm light. They are also inefficient when compared to LEDs.
- Halogen Lights: Halogen lights cast a cooler tone but generate higher levels of heat. Keep them at a safe distance from the artwork and consider placing a UV filter over the bulb. Halogens cast the purest white light, making them ideal for illuminating most art.
- Fluorescent Lights: Fluorescents are not recommended for lighting artwork. They emit a high level of ultraviolet energy, which accelerates color fading and distorts the color of the artwork causing damage.
When considering lighting, think about the longevity of your artwork. The main concern in choosing the proper lighting is determining what conditions will best preserve the artwork. Aesthetic preferences should be a secondary consideration. Aggressive lighting choices can often cause heat and light damage, often resulting in permanent color distortion and brittleness.
Tips to reduce glare, avoid heat damage, and provide sufficient brightness
- Reduce Glare: As mentioned earlier, angle the light at 30 degrees. This will reduce any glare or reflectance and cover the artwork in sufficient light. Add 5 degrees to the angle for a larger frame, to avoid casting a shadow. Subtract five degrees from the position to accent the texture of a painting. Adjusting the angle of a light affects how the details of a painting with texture are illuminated.
- Avoid Heat Damage: Place lights far enough away from a painting to avoid possible heat damage. Heat can crack oil paintings. Take special care when using hot halogen lights. Tip – To test for potential heat damage, place your hand between the artwork and the light source. If you can feel heat from the light, the light source is likely too close and could potentially damage an oil painting.
- Intensity: The general rule for accenting a piece of art is to light it three times brighter than the rest of the room’s lighting. Thus, the direct light source should be three times brighter than the ambient light. This can be achieved by using the appropriate intensity or ambiance.
Creating layers of light will enhance the overall ambiance of the space, so feel free to mix and match techniques to suit the mood. To that end, use dimmers for as many fixtures as possible to adjust levels.
To ensure the artwork’s colors are portrayed accurately, seek out high CRI (Color Rendering Index) percentages in your lights. The closer they are to 100 percent, the more vibrant the colors will appear.
Lighting Your Artwork Tips Conclusion
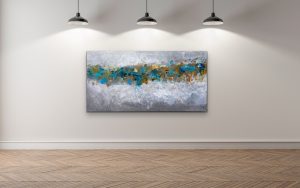
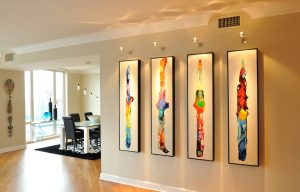
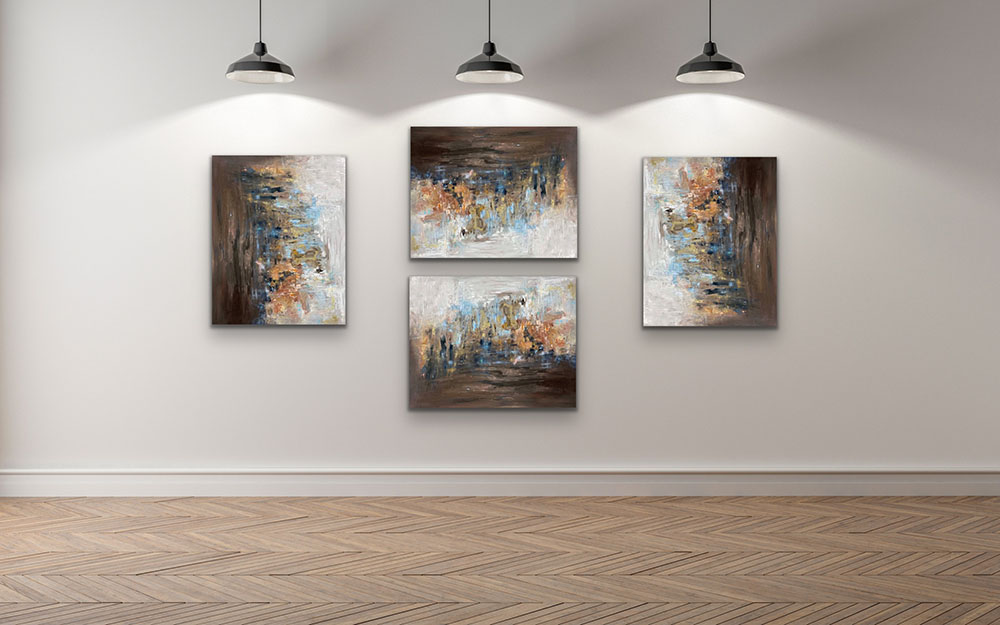
In conclusion, no matter how beautiful your fixtures are, make sure they are focused to highlight your artwork, not compete with it. Ideally, from a ceiling-mounted source, the light should be aimed at the center of the canvas. So evenly illuminate the work, especially for bigger pieces, opting for either a surface-mounted light or recessed lighting from above to ensure that there is a full distribution to prevent glare or annoying shadows.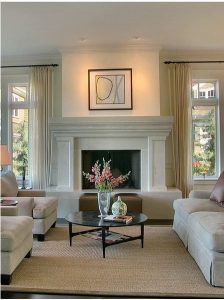
Whether you use an elaborate display or a soft and subtle highlight, lighting is meant to place your art at center stage. You don’t have to be a professional lighting designer to showcase your collection, but by applying a few smart techniques (and avoiding some pitfalls), your artwork can command the attention it deserves.
At the end of the day, much like art itself, aesthetic lighting is subject to the discretion and taste of each collector.
I hope some of these tips will help you cast your artwork in the best light possible.
If you would like to learn more on how to light your artwork, here are some additional references.
- How to Light Your Artwork at Home
- 8 Tips for Lighting Art: How to Light Artwork in Your Home
- How to light your Artworks
- How to Light Your Art Collection Like a Pro
Dare to Feel,
Red
See Red’s Creations in her gallery.
Follow Red www.facebook.com/StrokesbyRed, www.instagram.com/strokesbyredartist,


